
If you’re looking to add a splash of tropical flair to your garden, the Indian shot plant is your new best friend. With its vibrant foliage and striking flowers, it’s like the party animal of the plant world—always ready to brighten up any dull corner. But before you roll out the welcome mat, there are a few secrets to keeping this beauty thriving.
Indian Shot Plant Care
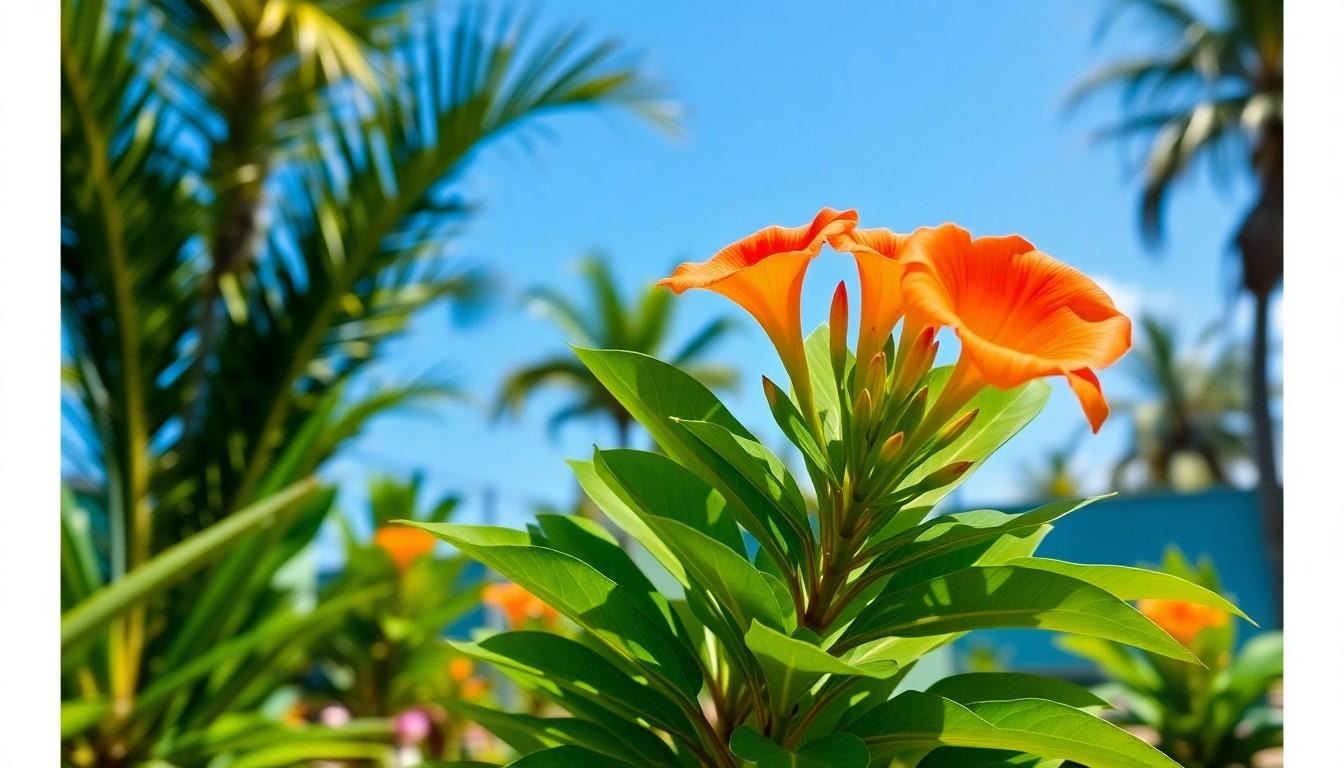
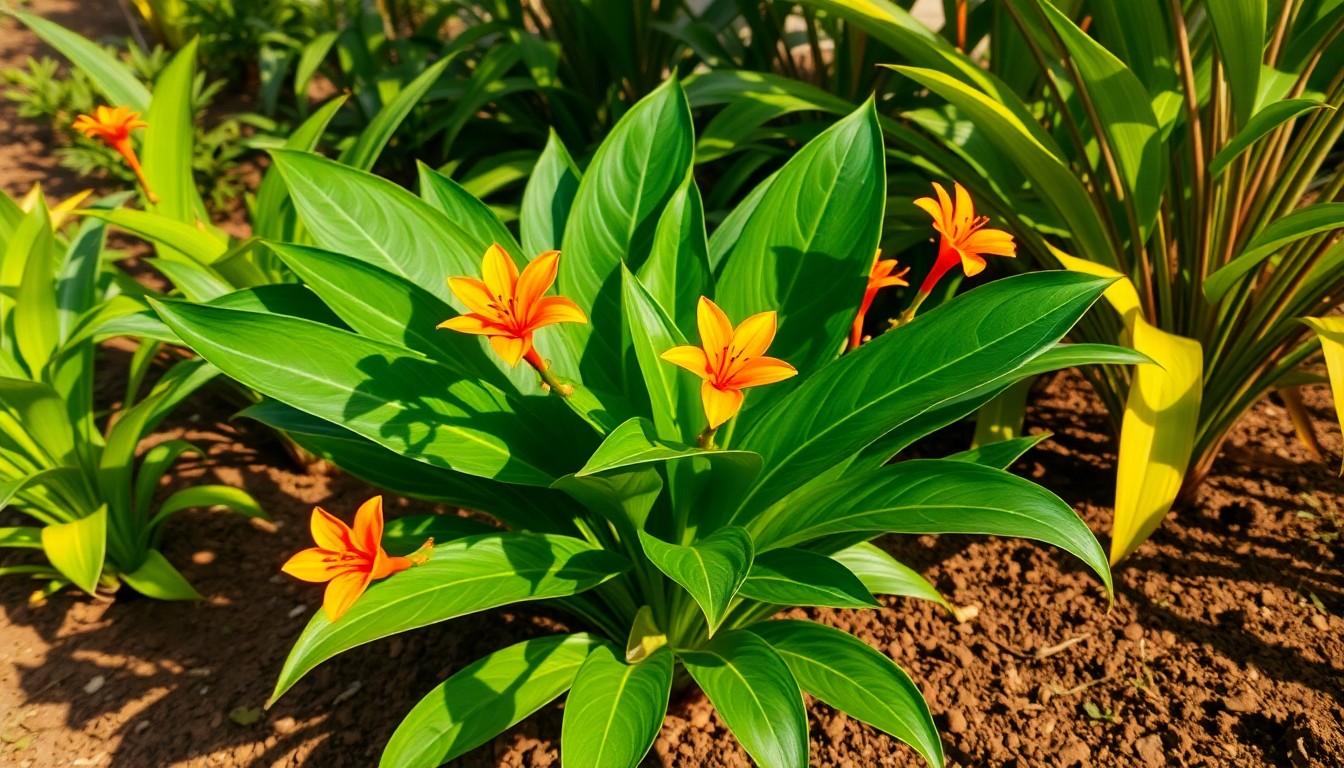
Indian shot plant, also known as Canna indica, thrives in warm climates. Its lush foliage and vibrant, trumpet-shaped flowers create a tropical effect in any garden. Originating from the Americas, this perennial plant grows well in USDA zones 7 to 11.
The leaves are large and broad, often featuring a striking green or variegated pattern. These attributes contribute to its appeal, making it a popular choice for landscape design. Blooms appear from mid-summer to fall, providing long-lasting color and attracting pollinators.
Cultivation often includes providing sufficient sunlight and moisture. Indian shot prefers full sun, receiving at least six hours of direct light daily. Soil should drain well while retaining moisture to support healthy growth.
Fertilization plays a crucial role in the plant’s vitality. Using a balanced, water-soluble fertilizer every four to six weeks encourages robust flowering and foliage. Regular maintenance, such as deadheading spent blooms, promotes continuous flowering.
Pest management requires monitoring for common pests such as aphids and spider mites. Early detection and organic treatments can prevent infestations. Disease prevention focuses on ensuring proper air circulation and avoiding overcrowding, leading to healthier plants.
Additionally, Indian shot plants can be propagated from rhizomes, allowing for easy expansion in gardens. Dividing rhizomes in the spring provides new plants while rejuvenating older specimens. This method not only sustains the plant’s vibrancy but also enhances garden diversity.
Ideal Growing Conditions
Indian shot plants flourish under specific conditions that mimic their native environment. Ensuring these plants receive adequate care promotes vibrant growth and longevity.
Sunlight Requirements
Direct sunlight is crucial for Indian shot plants. They thrive with a minimum of six hours of full sun daily. Inadequate light leads to leggy growth and sparse blooming. Positioning the plants in bright, sunny spots enhances their leaf coloration and encourages abundant flowering. During particularly hot afternoons, providing shade may prevent scorch, but this is rarely necessary. Observing how the plants react to light conditions can guide adjustments.
Soil Type and pH
Well-draining soil is essential for Indian shot plants to prevent root rot. Sandy or loamy soils work best, with organic matter added to improve moisture retention. Testing the soil pH is recommended, as these plants prefer slightly acidic to neutral pH levels, typically between 6.0 and 7.0. Ensuring the soil is rich in nutrients fosters robust growth and encourages blooms. Regular soil amendments can help maintain ideal conditions.
Watering and Fertilization
Proper watering and fertilization significantly enhance the Indian shot plant’s health and flowering. Consistent care leads to vibrant foliage and long-lasting blooms.
Watering Frequency
Watering frequency plays a pivotal role in the plant’s growth. It prefers moist soil but mustn’t sit in waterlogged conditions. During the growing season, water every three to four days, adjusting based on temperature and humidity. When the top inch of soil feels dry, it’s time to add water. Reduce the watering frequency in the fall and winter months, as growth slows down. Always ensure the soil drains well, preventing root rot from overwatering. Observing the plant’s needs enables healthy development.
Recommended Fertilizers
Recommended fertilizers foster strong growth and vibrant flowers. Using a balanced, water-soluble fertilizer with an NPK ratio of 10-10-10 or similar promotes healthy foliage and blooms. Fertilize every four to six weeks during the growing season to optimize nutrient availability. Organic options like fish emulsion or compost tea also suit the plant’s needs. Integrating fertilizers into the watering routine enhances their effectiveness, providing the necessary nutrients. Monitoring growth can help determine if additional fertilization is needed, ensuring the plant remains robust and flourishing.
Pest and Disease Management
Indian shot plants benefit from vigilant pest and disease management practices. Monitoring for common pests helps maintain plant health.
Common Pests
Aphids and spider mites commonly infest Indian shot plants. These pests suck plant sap, leading to wilting and discoloration. Leafhoppers might also appear, causing further damage by transmitting plant pathogens. Regularly inspect the undersides of leaves, as pests often hide there. Treat infestations promptly with insecticidal soap or neem oil for effective results.
Preventive Measures
Implementing preventive measures reduces pest issues. Ensure proper air circulation by spacing plants adequately. Overcrowding invites pests and disease, so don’t neglect plant placement. Encourage beneficial insects, such as ladybugs, which naturally manage pest populations. Furthermore, practicing routine pruning helps remove damaged foliage and promotes healthy growth. Regularly clean garden tools to prevent disease spread. By prioritizing these strategies, gardeners can enjoy vibrant, healthy Indian shot plants.
Propagation Techniques
Propagation of the Indian shot plant offers gardeners effective ways to expand their collection. Two primary methods include seed propagation and the division method.
Seed Propagation
Seeds of the Indian shot plant can produce new plants. Collect mature seeds from dried flower heads after the blooms fade. Soak seeds in water for 24 hours to enhance germination rates. Next, plant seeds in trays filled with a well-draining seed-starting mix. Germination occurs within two to three weeks under warm conditions. It’s crucial to provide light and warmth during this phase. Once seedlings develop two to three sets of leaves, they can be transplanted into larger pots. Proper care at this stage promotes healthy growth and prepares them for their new home in the garden.
Division Method
The division method uses rhizomes to generate new plants. This approach typically occurs in spring or early fall when the plant is actively growing. First, carefully dig around the plant to expose the rhizomes. Separating healthy rhizomes with a sharp knife ensures that each piece contains at least one eye or bud. Replant the divisions immediately in prepared soil, ensuring they’re buried at the same depth as the original plant. Monitor moisture levels closely as the newly planted divisions establish roots. This method not only aids in propagation but also rejuvenates the original plant, enhancing its vitality.